How to Apply Lashes Like a Pro Showgirl
Posted on April 30 2020
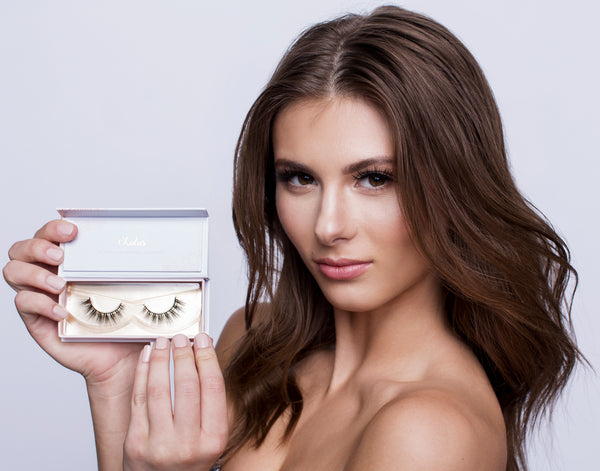
If applying mink lashes have ever caused you to leave the dressing room cursing, with sticky fingers and little piles of lashes that look like crumpled spiders littering your dressing table, this article is for you! We have assembled some advice from professional dancers/showgirls, including
1. Select the right lashes for your needs: Unless you are performing at the Tropicana, stay away from super dense overly long Va Va Voom Vegas lashes, unless you are going for the dramatic look. Of course these are perfect for performers, since the stage lights make everything appear smaller. More can be more, in this case. If, however, you are desiring a natural look, go for thinner, sparser lashes that have some space between each individual lash. Another tip: If lashes are longer than your actual lash line, it is not illegal to trim the ends off to fit, and this will make them much more comfortable (nobody likes being poked in the eye by an unruly lash end.)
2. Choose a glue that you can manage: Black eyelash gel seems like a great idea (you would think that it blends in with the lashes) but it is tricky to apply and can result in what look like tire tread marks across the eye if not done well. For the beginner, we suggest sticking with a clear, gel-based glue that is worry and mess-free.
3. By all means DO NOT glue the entire lash!: Most beginners, being over-zealous new lash owners, spread a line of glue along the entire lash line. Mistake, BIG mistake. What happens when you press the lash down is the glue oozes out from the sides, which ruins the lash and prevent make-up from adhering to your eye. Luckily, with our Lotus Brush-On Lash Glue, you will never have to suffer this rookie mistake. This takes the room for error out of the process so you can achieve perfect lashes every time! Voila!
4. How to apply properly: After applying glue to the false lashes, blow on them and lightly shake to help them dry (a common backstage technique.) Wait about 10-15 seconds per lash, because if they are too wet they will slide all over your eye like a slip 'n' slide. After about 10-15 seconds, apply the inside corner to your lash line and work your way lightly down the lash to the outside. Press and hold the lash for 10 seconds or so, with even pressure, to make sure it has properly adhered. Try not to peel off and re-do too much, or the lash will eventually get ruined by glue. Note to the wise: make sure you apply mascara to your natural lashes BEFORE you apply your mink lashes.
5. Fake it til you make it: If for some reason you end up with a wonky lash or it goes on crooked, all hope is not lost! Simply fill in the empty spaces with a black eyeliner. This also works if you have accidentally trimmed too much off the ends.
6. Reuse, Recycle, Re-Glam: If you plan to reuse your lashes, make sure you take the leftover glue off to extend the life of the lash. The best way to do this, is to roll it off in your fingers. This way, your next transformation from the girl next door to Femme Fatale, is as seamless as Marilyn Monroe's pantyhose.
0 comments